Augmented Reality on the Web with Model Viewer
A tale of our team building a Web AR experience using Google’s Model Viewer.
IKEA’s mobile app to see furnitures on a room through the device camera, became pretty popular some time ago. Currently, the AR market is more looking for AR solutions that do not require the user to download an app. It should not be a surprise that big players like Apple and Google have done something similar to IKEA: they both developed a solution to see 3D models on real life, through the user phone camera.
Users can move and resize any 3D model in order to place it on the space, and see how it will fit on the room. They can also take pictures, in order to share the result with friends. This is really useful in some cases, for example for e-commerce sites or to create situated art experiences.
Apple and Google both succeeded in bringing these experience to the Web, so the users can reach them using an URL or a QRCode, without install ant app on their phones. Apple has done a ‘fake Web’ AR solution, while Google has followed a more ‘real’ Web approach, using WebXR Device API when supported, otherwise falling back to a native scene.
But most of the times, the user does not care about the trick under-the-hood, they only care about the magic they see. I’m going to explain this magic to you, with a tutorial-like article showing our use-case of a real business project for the Bologna Children’s Book Fair 2020.
Model Viewer
Apple’s AR solution is called Quick Look. Google’s one is called Scene-viewer. But Google built something more: a Web Component, available as Open Source, that can be embedded in every Web page, and triggers either Quick Look (if the device is iOS based, and support it) or Google Scene-Viewer (if device has Android and ARCore libraries). They practically built one solution for every supported device, iOS or Android based. They called it Model Viewer.
You can use Model Viewer either to show a 3D content embedded on a classic web page, to trigger Augmented Reality or both. According to the parameters of the HTML tag the user define, Model Viewer will behave differently. Before going into this story, that will act as a tutorial for you to start with Model Viewer, let’s have an overview with pros and cons of this technology:
Pros
- Easy to build: as you will see, only few lines of HTML are required
- Cross-platform: it supports iOS devices, Androids’ ones and also uses the new WebXR Device API technology if supported
- Easy to use: the experience is straightforward for the users, they can move the object on the space, resize it and take pictures with few gestures.
Cons
- Easy to use — for programmers: I said it’s “easy”, but only if you’re able to write code. Currently, it does not support any official tool to build Model Viewer experiences without code. It can be seen as a missing feature, as the current trend in AR is to have AR Authoring Platforms to build experiences without coding knowledge
- Not cross-device: it’s cross-platform, but it’s far to be considered cross-device: it supports only iOS from version 13 (see here for iOS distribution), and Androids from this list. WebXR fallback is still far to be an option for cross-browser/cross-device support
- Not customisable: here’s one of the major lacks. You can only customise the first landing page, where the “AR triggers” relies. You cannot edit the “real” AR experience that you trigger when you click on “start AR” button. We will touch this point later in detail
- Feature detection: impossible on iOS and tricky on Androids. We will see this in detail too.
A real use case: Giving Life To BCBF at Home
As Chialab we are providing the Visual Identity and Communication consulting for the Bologna Children’s Book Fair from several years now. For this year’s edition, the first Virtual edition ever due to the pandemic crisis, we have designed and developed a way to bring the fair’s spirit into the users houses. Keep in mind that this fair happened during the pandemic lockdown, so we thought of a way to bring joy and to make the users feel like they were on the physical fair, as much as possible. During physical fairs we often created totems and visual artefacts and placed them all around the fairs buildings. So we thought that an engaging experience was to make the users place those artefacts — bounded to the fair visual identity — appear on the users’ spaces, in front of their computers, on their living room, over their beds.

The idea was to give life to the fair spirit into the users houses. We thought about using Augmented Reality in several ways, and to use different technologies. We had these requirements:
-
Easy to use for the user
-
The user has to be able to see the artefacts as it was really on the room
-
No mobile app installation/search on the app store, so the idea was to use WebAR (Web Augmented Reality).
Given these requirements, we thought of using Model Viewer, we tried it and we adapted it according to our needs. Let’s see how.
Create your assets
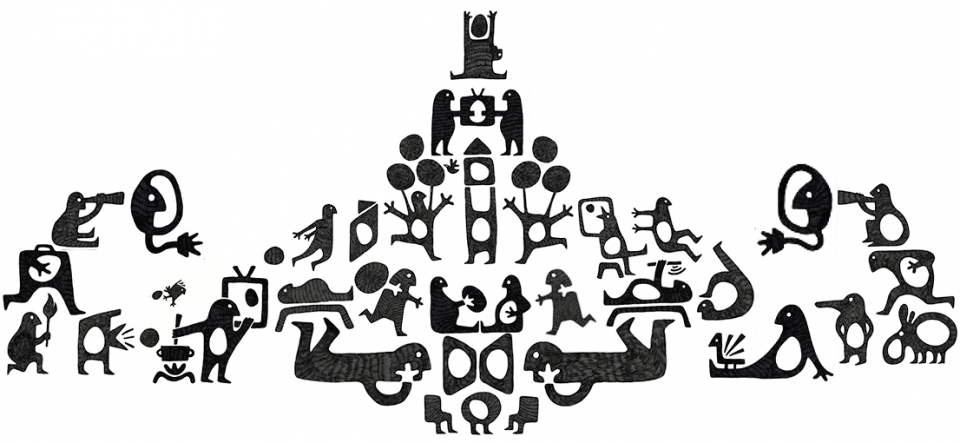
First of all, when using Model Viewer, your assets has to be 3D models. But we started from 2D flat images. So our solution was to create flat 3D models that looked like 2D panels with the image as full texture. We started from a set of drawn avatars, scan them to make digital copies and then created 3D models out of them.

We used the Blender software in order to create 3D flat models from 2D images. Here’s a video tutorial from Fran Brennan. Model Viewer supports GLB, GLTF, DRACO and USDZ file formats. We used GLB (as GLTF but a single file) and USDZ in order to support iOS devices. If you want to support also Apple’s devices you have to create them. There is a free command-line tool — as far as I know only available on MacOS — that converts a GLB model into USDZ file. Here you can find information about it.

We ended up with five different 3D models, both with GLB and USDZ formats. It was time to look into the code.
<model-viewer
    data-name="baloon"
    src="./models/baloon/baloon.glb"
    ios-src="./models/baloon/baloon.usdz"
    ar
    ar-modes="scene-viewer quick-look"
    camera-controls
    auto-rotate
    poster="./images/baloon.png"
></model-viewer>
The HTML snippet above can be embedded into any HTML page. You just have to import, on the HTML head section, the Model Viewer libraries (snippet taken from the official Model Viewer Documentation):
<script type="module" src="https://unpkg.com/@google/model-viewer/dist/model-viewer.js">
</script>
<script nomodule src="https://unpkg.com/@google/model-viewer/dist/model-viewer-legacy.js">
</script>
Let’s see the properties we have added (note, there are many more of them, we just used the ones we needed):
-
“data-name” is used by us to retrieve the specific element, in order to handle some actions and specific CSS styles
-
“src” and “ios-src” refers to the local 3D models, the first for Androids and the second for Apple’s devicesar activates the AR mode (technically it shows the AR trigger button, that when clicked by the users, activate the AR mode if available)
-
“ar-modes” specifies the AR technologies to trigger. The defaults are WebXR Device API, Scene Viewer and Quick Look, with this order. Model Viewer tries the first of the list and falls back to the others if does not find a full compatibility. We removed the WebXR Device API from the list because we found that does not work as of September 2020. So the effect was that it activates (on those Androids with updated Chrome and ARCore installed) but gives a black screen. So we decided to define only Scene Viewer and Quick Look
-
“camera-controls” and “auto-rotate” enable an auto-rotation of the model when it’s on the flat-view — the view before entering AR. You can also control it and rotate it using mouse/keyboard if you define the camera-controls
-
“poster” can be used to change the look of the model on the page, before the user interacts with it. So if you want to show a different image (maybe an image with a text, for example) you can specify it with this attribute, otherwise the 3D model flat-view will be enabled as default.
What happens if a user with a non-compatible phone clicks on the 3D model in order to see it in AR? The feature-detection is not great, I have to admit. It appears that there were important updates on the latest Model Viewer version, and now at least it is possible to listen for an event and an attribute change that tells you if the phone is not compatible. But that happens after the user has clicked on the 3D model. So actually it is not possible to do an upfront feature detection. Furthermore, the event handling is only possible with Androids, but this is not a big deal as Apple support is much better in this case.
Let’s talk about the support before seeing it in action.
Know your limits
First, Apple devices: it seems from some non-official Apple Twitter accounts that Quick Look (or Model Viewer) works great from iOS 12. We found that it is not true, iOS 12 is apparently not supported according to our tests (and that seems to be related to an Hardware limitation. Probably Quick Look works only with A10 chipsets, so iPhone 7 and above). Quick Look is well supported from iOS 13 (now also on iOS 14). That is good news, as according to this June 2020 report from Apple, it means that covers more than the 80% of iPhones around and more than the 70% of the iPads. This number are going to increase as the iOS 14 adoption will grow.
We have to say that once an Apple device supports Quick Look, the AR experience is terrific: no lags, resize and rotation of the 3D model are easy to do and also the camera function works great. We are very happy from the Apple implementation.
We cannot say the same for the Androids. First of all, the support is not very clear: we have this list of ARCore supported devices, but we found that to have a smartphone listed in there does not mean that Scene Viewer (Model Viewer) will work. When the Scene Viewer is supported and the AR experience is triggered, the performances depend on the device specs. We found a laggy and memory-consuming experience even on powerful smartphones like the Huawei P20. That happens sometimes, other times the experience is good. The better the specification of the device, the better the experience.

What we are saying is: you probably have to handle yourself the feature detection, and provide a fallback experience if you want to deliver something to any user. You can show requirements and state that your AR experience works for iOS 13+ and latest Androids, so you will be sure that those that will try with Apple devices will found a great experience. For those with an Android device, you can feature-detect once they trigger the action (see paragraph above for detail) and then provide a fallback experience, maybe using a more supported Web AR technology (like AR.js, but be aware, AR.js does not support markerless and IKEA-like apps like Model Viewer, but it offers other cool features like Marker tracking, Image tracking and Location Based AR).
Bring content to our home
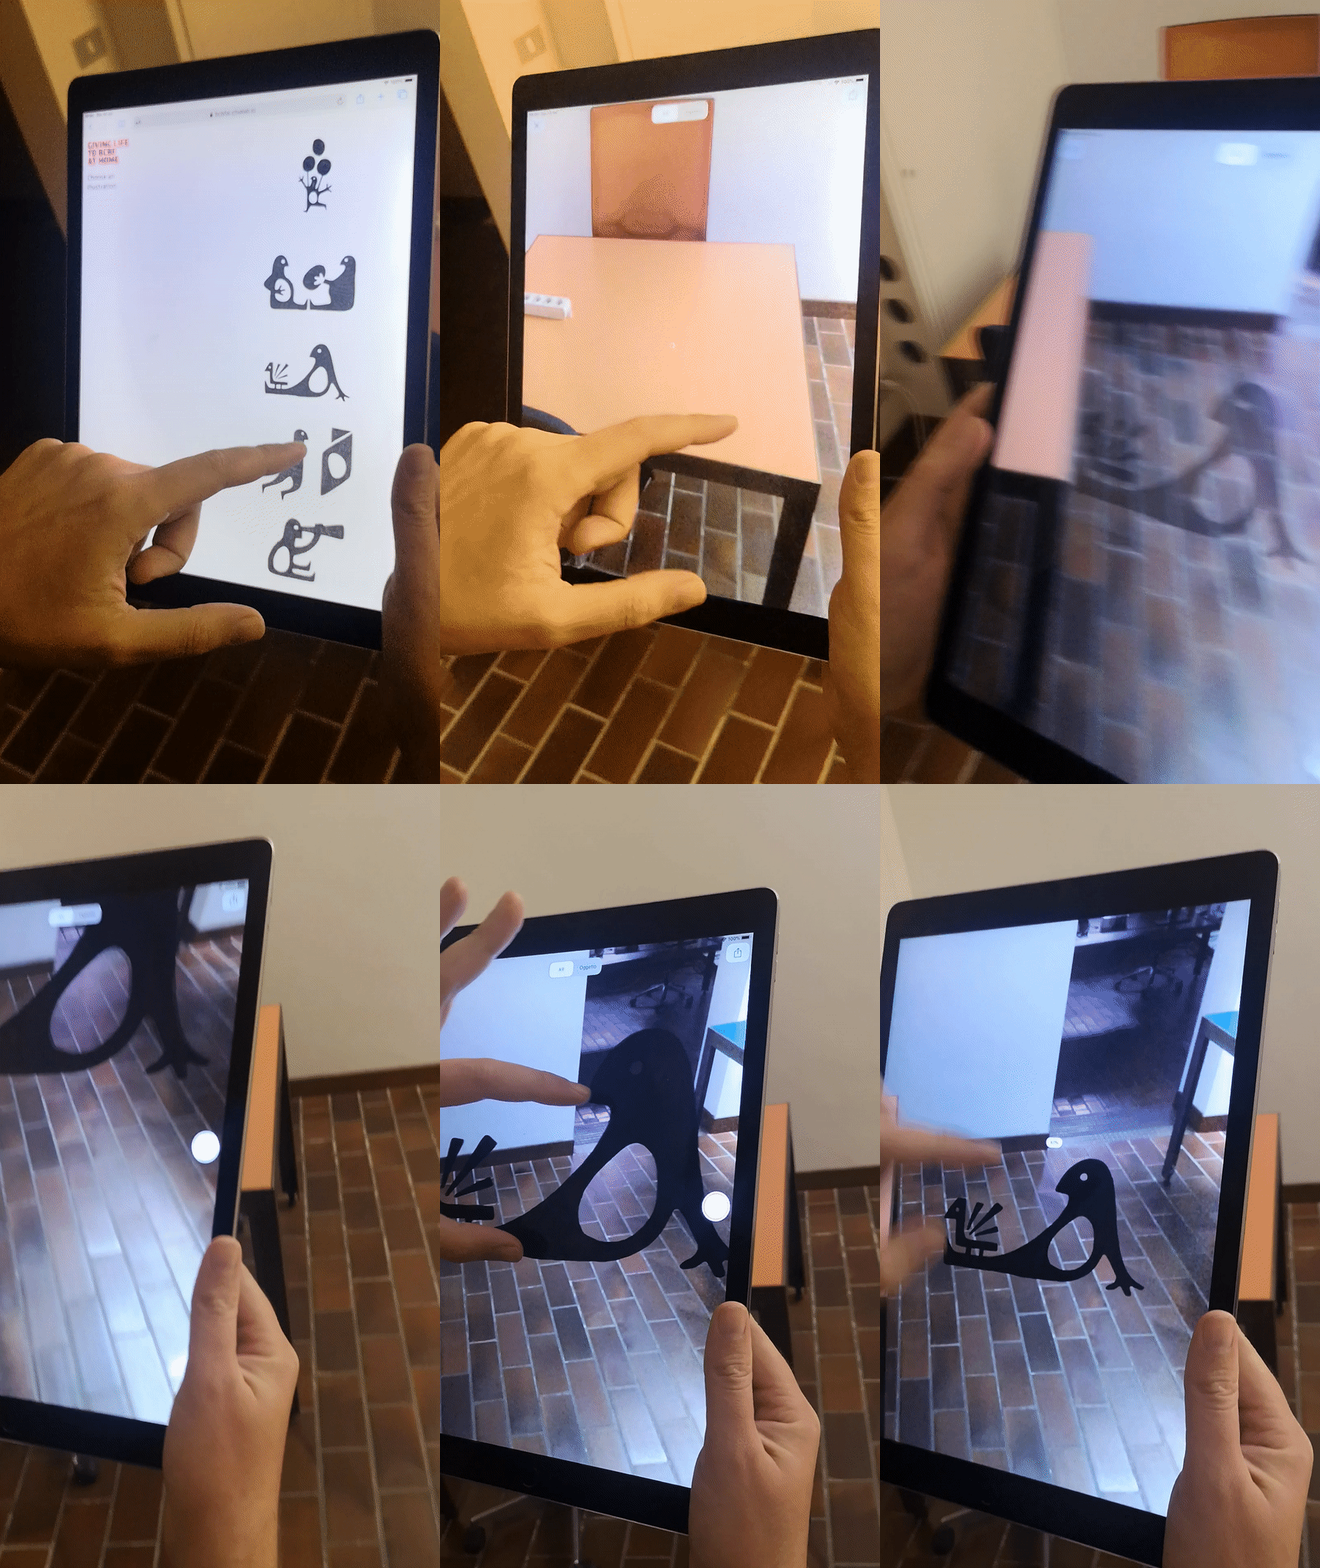
It’s time to see how Model Viewer works on the AR view. Once the user clicks on the poster or the 3D model flat-view, the AR scene will be triggered. From this point it is not possible for the developer to configure the experience, because it is not handled by the Web scene anymore. Quick Look or Scene Viewer are triggered and everything is handled by the smartphone’s OS.
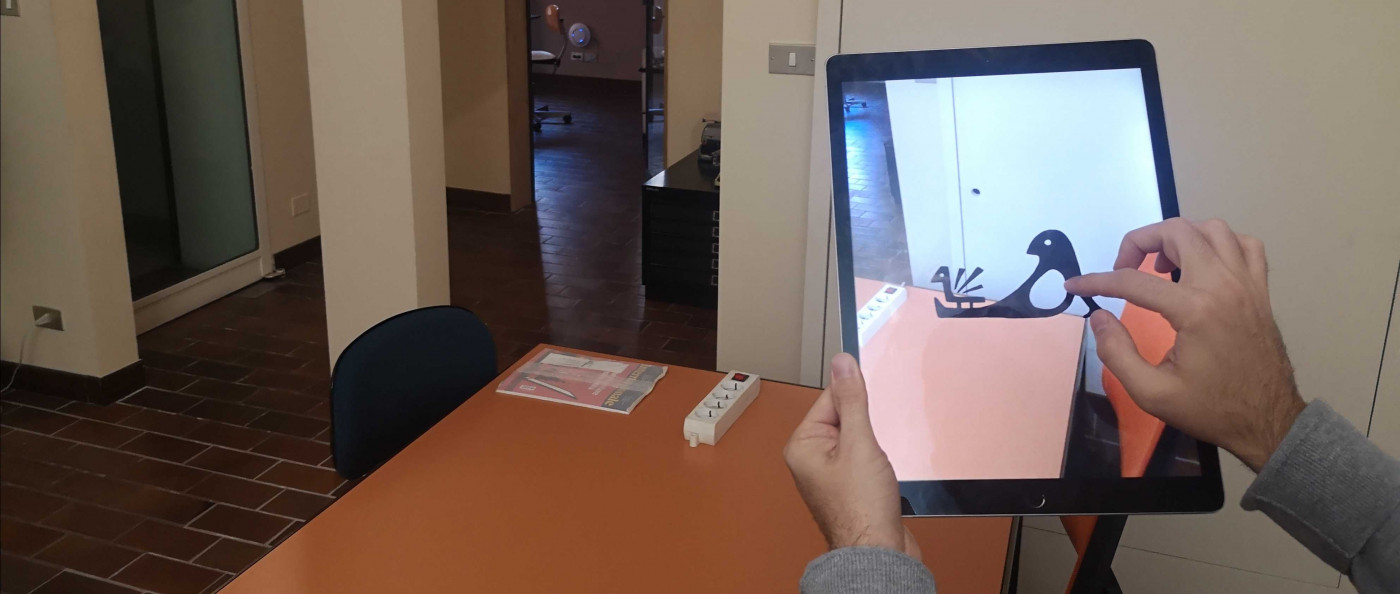
You can see on the following GIF the experience from an iPad. The user can set the scene according to his/her needs and take pictures. You can create contests, and requests users to create funny and artistic scenes. Or you can just let the users be free to unleash their creativity and place the content wherever they want.

You can find the full video of the AR experience here, so you can have an idea of what you can expect from the Apple side of Model Viewer.
Here’s where you can find the Web AR app: https://bcbfar.chialab.io. Keep in mind the requirements specified above for the AR support.
What we learned
Google’s Model Viewer is a good way to start with markerless AR Ikea-style apps on the Web. It’s easy for designers and Web developers to implement a standard AR experience, a bit more difficult to handle fallbacks and a broader support for smartphones. If it’s not an issue for your project to have a broad support, it is good to provide this experience anyway, specifying the smartphone requirements.
It is a good way to build experiences that gives the users the freedom to create their scene and to take pictures to share. Last but not least, the Model Viewer team has recently released an editor to customise 3D models without using Blender or similar software, thus making the entire flux even more accessible. We suggest to keep an eye on Model Viewer updates, mostly the support for the WebXR Device API, that eventually will bring the chance to customise also the AR experience itself as it will be a true Web AR based tool, rather than a trigger for native scenes as it is now.
